添加手势
编辑
在本教程中,学习如何实现来自 React Native Gesture Handler 和 Reanimated 库的手势。
手势是为应用程序提供直观用户体验的绝佳方式。React Native Gesture Handler 库提供内置的原生组件,可处理手势。它使用平台的原生触摸处理系统识别平移、轻拍、旋转和其他手势。在本章中,我们将使用此库添加两种不同的手势:
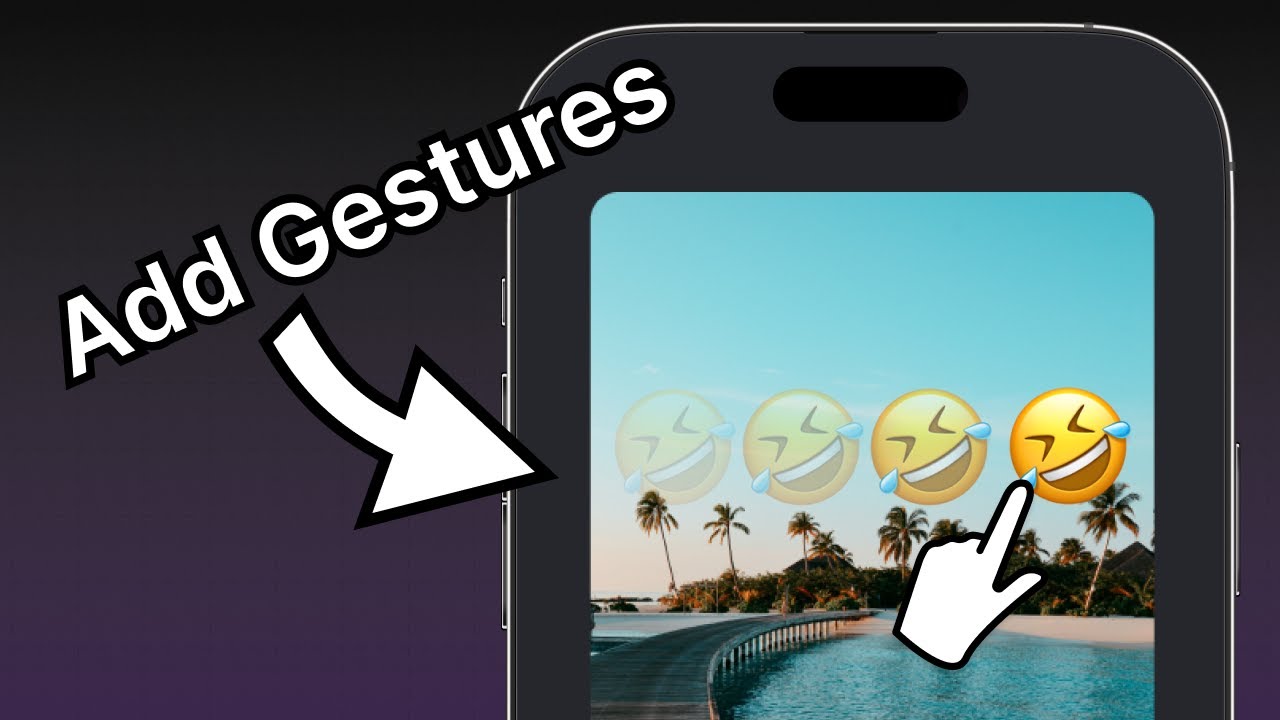
- 双击放大表情符号贴纸的大小,再次双击时减小比例。
- 拖动以在屏幕上移动表情符号贴纸,以便用户可以将贴纸放置在图像的任意位置。
我们还将使用 Reanimated 库在手势状态之间进行动画。
1
添加 GestureHandlerRootView
为了让手势交互在应用中工作,我们将在 Index 组件的顶部渲染来自 react-native-gesture-handler 的 <GestureHandlerRootView>。用 <GestureHandlerRootView> 替换 app/(tabs)/index.tsx 中根级的 <View> 组件。
// ... 其余的导入语句保持不变
import { GestureHandlerRootView } from 'react-native-gesture-handler';

export default function Index() {
  return (
    <GestureHandlerRootView style={styles.container}>
      {/* ...其余的代码保持不变 */}
    </GestureHandlerRootView>
  )
}
2
使用动画组件
Animated 组件查看组件的 style 属性,并确定哪些值需要动画以及应用更新以创建动画。Reanimated 导出动画组件,如 <Animated.View>、<Animated.Text> 或 <Animated.ScrollView>。我们将对 <Animated.Image> 组件应用动画,以使双击手势工作。
- 打开 components/EmojiSticker.tsx 文件。在其中,导入
Animated来自react-native-reanimated库以使用动画组件。 - 用
<Animated.Image>替换Image组件。
import { ImageSourcePropType, View } from 'react-native';
import Animated from 'react-native-reanimated';

type Props = {
  imageSize: number;
  stickerSource: ImageSourcePropType;
};

export default function EmojiSticker({ imageSize, stickerSource }: Props) {
  return (
    <View style={{ top: -350 }}>
      <Animated.Image
        source={stickerSource}
        resizeMode="contain"
        style={{ width: imageSize, height: imageSize }}
      />
    </View>
  );
}
有关动画组件 API 的完整参考,参见 React Native Reanimated 文档。
3
添加轻拍手势
React Native Gesture Handler 允许我们在检测到触摸输入时添加行为,像双击事件。
在 EmojiSticker.tsx 文件中:
- 从
react-native-gesture-handler导入Gesture和GestureDetector。 - 为了识别贴纸上的轻拍,导入
useAnimatedStyle、useSharedValue和withSpring来自react-native-reanimated,以对<Animated.Image>的样式进行动画处理。 - 在
EmojiSticker组件内部,使用useSharedValue()钩子创建一个名为scaleImage的引用。它的初始值将为imageSize。
// ...其余的导入语句保持不变
import { Gesture, GestureDetector } from 'react-native-gesture-handler';
import Animated, { useAnimatedStyle, useSharedValue, withSpring } from 'react-native-reanimated';

export default function EmojiSticker({ imageSize, stickerSource }: Props) {
  const scaleImage = useSharedValue(imageSize);

  return (
    // ...其余的代码保持不变
  )
}
使用 useSharedValue() 钩子创建共享值有很多优点。它有助于更改数据,并根据当前值运行动画。我们可以使用 .value 属性访问和修改共享值。我们将创建一个 doubleTap 对象来缩放初始值,并使用 Gesture.Tap() 在缩放贴纸图像时进行动画过渡。为了确定所需的点击次数,我们将添加 numberOfTaps()。
在 EmojiSticker 组件中创建以下对象:
const doubleTap = Gesture.Tap()
  .numberOfTaps(2)
  .onStart(() => {
    if (scaleImage.value !== imageSize * 2) {
      scaleImage.value = scaleImage.value * 2;
    } else {
      scaleImage.value = Math.round(scaleImage.value / 2);
    }
  });
为了使过渡动画化,让我们使用基于弹簧的动画。这将使它感觉更生动,因为它基于现实世界弹簧的物理特性。我们将使用 react-native-reanimated 提供的 withSpring() 函数。
在贴纸图像上,我们将使用 useAnimatedStyle() 钩子创建样式对象。当动画发生时,这将帮助我们使用共享值更新样式。我们还将通过操作 width 和 height 属性来缩放图像的大小。这些属性的初始值设为 imageSize。
创建一个 imageStyle 变量并将其添加到 EmojiSticker 组件:
const imageStyle = useAnimatedStyle(() => {
  return {
    width: withSpring(scaleImage.value),
    height: withSpring(scaleImage.value),
  };
});
接下来,用 <GestureDetector> 包裹 <Animated.Image> 组件,并在 <Animated.Image> 上修改 style 属性以传递 imageStyle。
import { ImageSourcePropType, View } from 'react-native';
import { Gesture, GestureDetector } from 'react-native-gesture-handler';
import Animated, { useAnimatedStyle, useSharedValue, withSpring } from 'react-native-reanimated';

type Props = {
  imageSize: number;
  stickerSource: ImageSourcePropType;
};

export default function EmojiSticker({ imageSize, stickerSource }: Props) {
  const scaleImage = useSharedValue(imageSize);

  const doubleTap = Gesture.Tap()
    .numberOfTaps(2)
    .onStart(() => {
      if (scaleImage.value !== imageSize * 2) {
        scaleImage.value = scaleImage.value * 2;
      } else {
        scaleImage.value = Math.round(scaleImage.value / 2);
      }
    });

  const imageStyle = useAnimatedStyle(() => {
    return {
      width: withSpring(scaleImage.value),
      height: withSpring(scaleImage.value),
    };
  });

  return (
    <View style={{ top: -350 }}>
      <GestureDetector gesture={doubleTap}>
        <Animated.Image
          source={stickerSource}
          resizeMode="contain"
          style={[imageStyle, { width: imageSize, height: imageSize }]}
        />
      </GestureDetector>
    </View>
  );
}
在上面的代码片段中,gesture 属性的值为 doubleTap,以便在用户双击贴纸图像时触发手势。
让我们在 Android、iOS 和网页上查看我们的应用:
有关轻拍手势 API 的完整参考,请参见 React Native Gesture Handler 文档。
4
添加拖动手势
为了识别贴纸上的拖动手势并跟踪其移动,我们将使用拖动手势。在 components/EmojiSticker.tsx 中:
- 创建两个新的共享值:
translateX和translateY。 - 用
<Animated.View>组件替换<View>。
export default function EmojiSticker({ imageSize, stickerSource }: Props) {
  const scaleImage = useSharedValue(imageSize);
  const translateX = useSharedValue(0);
  const translateY = useSharedValue(0);
  // ...其余的代码保持不变

  return (
    <Animated.View style={{ top: -350 }}>
      <GestureDetector gesture={doubleTap}>
        {/* ...其余的代码保持不变 */}
      </GestureDetector>
    </Animated.View>
  );
}
让我们学习上述代码的作用:
- 定义的平移值将移动贴纸在屏幕上。由于贴纸沿两个轴移动,我们需要跟踪 X 和 Y 值。
- 在
useSharedValue()钩子中,我们将两个平移变量的初始位置设置为0。这是贴纸的初始位置和起始点。当手势开始时,此值设置贴纸的初始位置。
在上一步中,我们触发了与 Gesture.Tap() 方法链的轻拍手势的 onStart() 回调。对于拖动手势,请指定一个 onChange() 回调,它在手势处于活动状态并移动时运行。
- 创建一个
drag对象来处理拖动手势。onChange()回调接受event作为参数。changeX和changeY属性保存自上一个事件以来位置的变化,并更新存储在translateX和translateY中的值。 - 使用
useAnimatedStyle()钩子定义containerStyle对象。它将返回一个包含变换的数组。对于<Animated.View>组件,我们需要将transform属性设置为translateX和translateY值。这将改变贴纸的位置,当手势处于活动状态。
const drag = Gesture.Pan().onChange(event => {
  translateX.value += event.changeX;
  translateY.value += event.changeY;
});

const containerStyle = useAnimatedStyle(() => {
  return {
    transform: [
      {
        translateX: translateX.value,
      },
      {
        translateY: translateY.value,
      },
    ],
  };
});
接下来,在 JSX 代码内部:
- 更新
<EmojiSticker>组件,使<GestureDetector>组件成为顶级组件。 - 将
containerStyle添加到<Animated.View>组件的样式中,以应用变换样式。
import { Gesture, GestureDetector } from 'react-native-gesture-handler';
import Animated, { useAnimatedStyle, useSharedValue, withSpring } from 'react-native-reanimated';
import { ImageSourcePropType } from 'react-native';

type Props = {
  imageSize: number;
  stickerSource: ImageSourcePropType;
};

export default function EmojiSticker({ imageSize, stickerSource }: Props) {
  const scaleImage = useSharedValue(imageSize);
  const translateX = useSharedValue(0);
  const translateY = useSharedValue(0);

  const doubleTap = Gesture.Tap()
    .numberOfTaps(2)
    .onStart(() => {
      if (scaleImage.value !== imageSize * 2) {
        scaleImage.value = scaleImage.value * 2;
      } else {
        scaleImage.value = Math.round(scaleImage.value / 2);
      }
    });

  const imageStyle = useAnimatedStyle(() => {
    return {
      width: withSpring(scaleImage.value),
      height: withSpring(scaleImage.value),
    };
  });

  const drag = Gesture.Pan().onChange(event => {
    translateX.value += event.changeX;
    translateY.value += event.changeY;
  });

  const containerStyle = useAnimatedStyle(() => {
    return {
      transform: [
        {
          translateX: translateX.value,
        },
        {
          translateY: translateY.value,
        },
      ],
    };
  });

  return (
    <GestureDetector gesture={drag}>
      <Animated.View style={[containerStyle, { top: -350 }]}>
        <GestureDetector gesture={doubleTap}>
          <Animated.Image
            source={stickerSource}
            resizeMode="contain"
            style={[imageStyle, { width: imageSize, height: imageSize }]}
          />
        </GestureDetector>
      </Animated.View>
    </GestureDetector>
  );
}
让我们在 Android、iOS 和网页上查看我们的应用:
总结
第六章:添加手势
我们成功实现了平移和轻拍手势。
在下一章中,我们将学习如何截取图像和贴纸的屏幕快照,并将其保存到设备的库中。